Did you ever dream of seeing your own book in print? Now technology has made it easier than ever, and it does not require finding a publisher, or paying a large sum to a vanity press, or even making an agreement with a print on demand publisher.
We have been publishing our own books for a long time. That is, we have been researching, writing, and typesetting them, and then sending them off to a short run printer to have 500 or 1,000 copies. Next came trying to sell them, and we often ended up with boxes and boxes of unsold books, so we dreamed about completing the book production cycle by printing them ourselves, not in the sense of owning a printing press, but finding a way to create locally a good-looking book a few copies at a time.
Here is what we have come up with, and we are sharing it with you so you, too, can create your own book because we see it like growing a garden or building your own house, that is, a basic skill that allows us the freedom to live the kind of life we want.
We won’t go into the first part of this process which ends with a typeset book except to say that you can use a word processing program like Microsoft Word to do all the typesetting, including running heads, that is, the titles on the top of each page, as well as the layout for the cover. Once we have created the book – and proof read it many times – we send it to a disk and go visit our friends at Anderson Production Printing who helped us figure out this book printing process.


Tim and Charlene at Anderson Production Printing
The text is printed straight from our disk on one of those new advanced copying machines. In our case we are printing on 8 ˝” x 11” acid-free paper. Sometimes since these machines use heat in the printing process the pages can come out slightly wavy. Check a sample to see how the machine you are using performs. Next the text gets stapled with two staples about Ľ” from the edge of the spine.
The text is stapled.
Then comes the cover. An electronic copy of the cover, if it is in color, takes more memory than the entire text, so you will need something bigger than a floppy disk.
When we started out printing our book we actually made our first covers on our own inkjet printer. We don’t recommend this process that took 17 separate steps, but we describe it in Appendix A in case you have no other way to go.
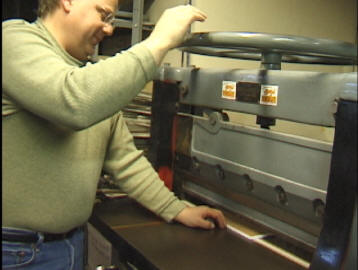
These days Anderson’s has a high-end color copier, an AB Dick CXP3000, that can handle 11”x17” heavy cover stock. This allows us to have full-color covers – not to mention color plates inside if we wish.
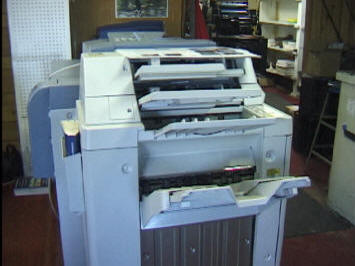
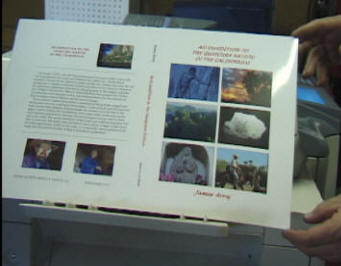
Printing the cover
Then the cover is scored, that is, scribed with two light lines on either side of the printing on the spine so that it can be folded.
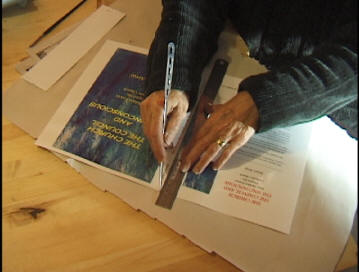
Scribing the lines for folding the cover
Then the cover is creased on the score lines.
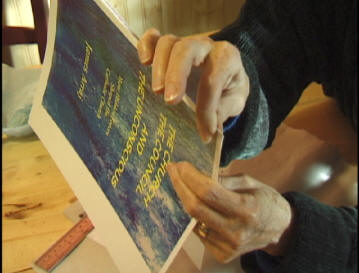
Next the cover is glued to the stapled text. We use padding glue, (Har Printer’s Padding Compound, for example)a polyvinyl acetate which you can find at a printing supply or library supply place. We paint some glue on the spine of the text, and on the inside of the spine of the cover, put them together and lean the book up to dry with one cover opened in order to make sure there is good contact between the two parts.
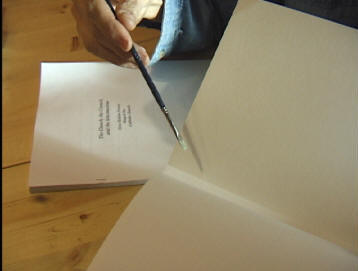
When it is dry we tape the inside seam where the cover meets the text with a hinge tape we have gotten from a library supply house. This makes sure the cover stays in place, just like the staples made sure the text stays in place, and the tape, incidentally, covers the staples.
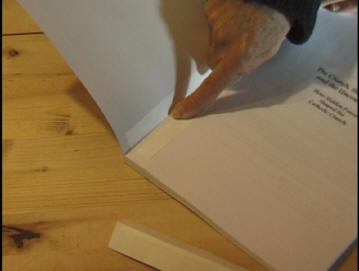
Taping the inside of the spine
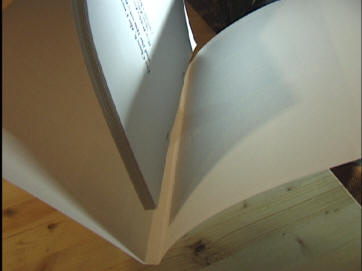
The final trim size of the book is 11”x7 ľ”. This size allows us to use the 11”x17” covers because a full 11”x8 ˝” wide book would demand a cover wider than 11”x17” because of the book’s thickness. This means that we have typeset the text to allow for this final trim. Our text is usually printed in two columns without right margin justification. In other words, the right edge of the text is not uniform. So the book goes back to the printer and is cut to size.
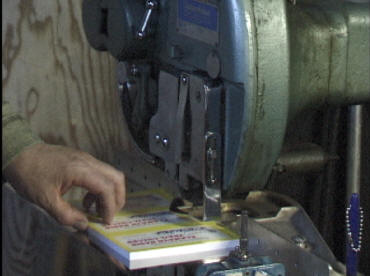
Trimming the book
Cost. About $.05 a page for the text, and $1 for the cover, so our last book at 132 pages (equivalent to a 264-page 5 ˝”x8 ˝” book and a full-cover cover) cost us $7.60 with us doing the cover scoring and binding ourselves. If you ordered books by the thousand from a specialized short-run book printer, you could probably beat that price per copy, but for $76 we can have 10 copies of our new book ready to sell within days of having finished the book. This is a far cry from laying out thousands of dollars, waiting for weeks or months for the job to be done, and ending up with cartons of unsold books.
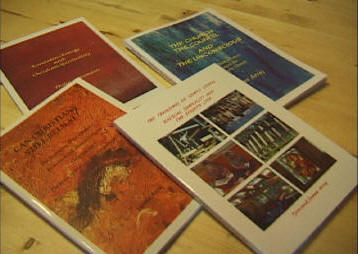
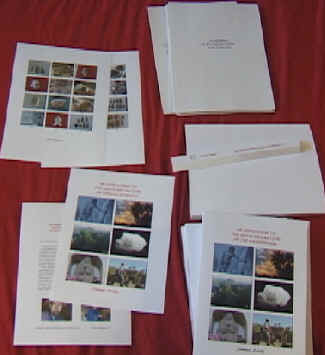
And we get to see the books in print!
Can other sizes be printed? You could probably print
other sizes using this method, for example,
5 ˝”x8 ˝”, but if you want to staple the book together there is a limit to
how thick the book can be. Most paperbound books are bound with a hot glue.
We haven’t figured out a way to do that ourselves one book at a time. The
padding glue we use might suffice to hold the book together, but we like the
insurance of the staples and the hinge tape.
Can’t find a printer in your area? Contact Anderson’s Production Printing, 2030 South 6th Street, Klamath Falls, OR 97601. Phone: 541-884-2146. Fax: 541-883-7799. Email: printit@mac.com and find out how much it would cost to have them print and bind the book, and send it to you so you can see your own book in print, too. If you discover any ideas about how to do this better, please let us know. arraj@innerexplorations.com
Appendix A: If You Have To Print the Cover Yourself
In our old method, we printed the front and back covers, and a separate spine, on our inkjet printer on glossy photo paper.
For binding we stapled the text and attached it to a heavy white paper cover stock that we had cut and folded to size. Then we glued the front and back covers, as well as the spine, to the white paper cover with rubber cement. The rubber cement does not have to cover everything - just enough to hold the pieces in place.
Finally we laminated the cover using the film laminate that libraries cover their paperbound books with, and taped the inside spines. Whew! The seventeen steps were done and the book was bound if we didn't make a mistake along the way.